
Hydration Systems | Part 1
I’ve lost my fair share of drink bottles, I believe the term is ‘launched’. Strange term though, you launch a boat or launch a new product but unintentionally launching your hydration system mid race isn’t an intended act. Still, using ‘launched’ will be useful if you do some further research on your own.
There have been many ‘launched’ bottles/bidons on training rides and some notable launches over the last couple of years. Firstly, Ironman Australia in 2015, this one contained my emergency sodium solution, lost somewhere on Lap 1 ? and secondly, crossing a traditional Austrian wooden bridge in Zell Am See at the 70.3 World Championships, I don’t think I was the only victim of that bridge given all the bottles piled up there after the race.
With this in mind and delivery of my P2 approaching, I commenced a lengthy review online to find out what the best solutions where. I wanted to remove the cage on the frame, instead moving to a ‘between the arms’ (BTW) mount, this will be Part 2 of my Hydration System post. From my research, the ‘BTW’ option was the most aerodynamic with the frame mounts creating notable drag. Yes, I know, don’t forget the 185cm frame riding the bike isn’t exactly drag neutral.
Anyhow, I found this fast twitch post helpful, particurarly when it came to the cage selection.
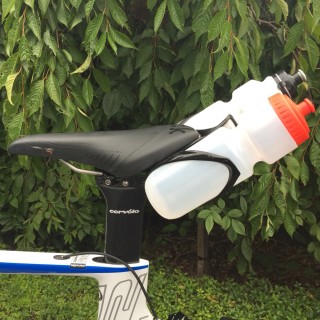
Rear Mount Hydration System
I have been using the x-lab mini wing system, this has served me well, but overtime, the frequency of launches increased, maybe a new cage would have solved the problem :). If you aren’t familiar with this system, its secures to your saddles rails (actually they nearly all do) with the bottles flaring outwards. The space between the cages provides room for a kit bag (part of the x-lab system) to be stowed/wedged under the saddle which is pretty neat. The actual cage has an elastic band that runs around the top for extra support. It is a shallow cage though, but was effective for a couple of years, before the frequency of launches increased.
I was pretty confident the cage was the most important piece, not the mounting system, so I might as well look at all the options.
A key factor in my decision making was robustness and strength. How many times have you raced and on your second lap,you start to see a trail of hydration systems on the side of the road. I can only guess what must go through ones mind when they hear the system drop off the back ?, that or the sudden increase in speed, followed by some reaching for a bottle, no wait, cage no longer there. I definitly don’t want to be in that position.
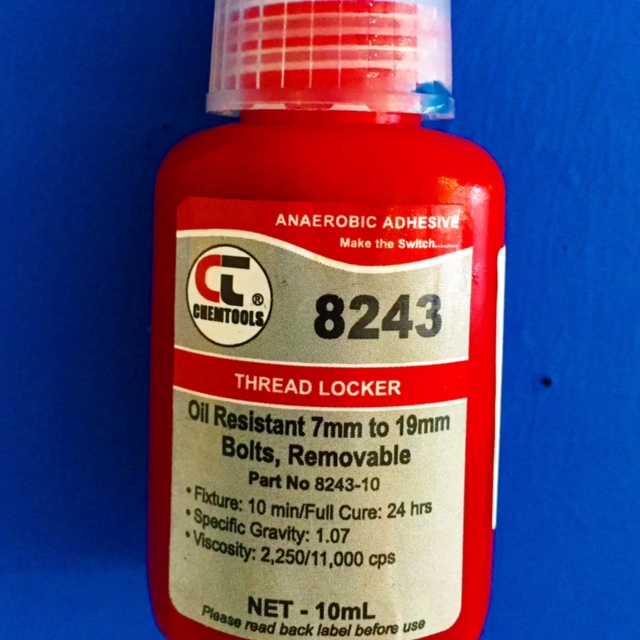
On this point, use loctite, nylon nuts and regularly check/tighten your fittings. Its also worth going to your local bolt shop and getting some spares or upgrading your standard fittings to stainless.
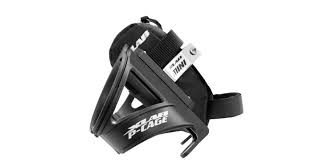
There are a bunch of different solutions out there, x-labs have a heap of options, but these tend to be priced on the high side, profile designs are a little cheaper as are planet-x and the list goes on. Some good comparisons can be found here.
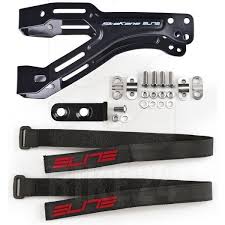
I ended up going with Elite Skekane kit. It was in my price point, was light weight, and had plenty of options.
The Cage
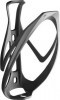
I had already ruled out the Gorilla Grip, there was no way I was spending that much money on a bottle cage, let alone 2. In reading the fast twitch post, the specialised rib cage rated well and at $24.99 was right in my price range. I looked at a heap of different cages, tried them out, but went with the specialised. It was lite, robust and the lip locked the bottle in securely. I even went to the trouble of taking some bottles into the store to see how secure the hold was.
Visiting my local BIke shops was valuable and yes, I before you ask, I did buy my hydration system through a shop. There were suggestions about going with an Aluminium cage that you could just bend to increase the grip. There was another school of thought which was to have the bottle secure, but with enough room to wobble. I’m guessing the loose fit keeps returning the bottle to the base of cage . Interesting thought and if you think about it, it makes sense. Your cage is full of water, you hit a bump, the bottle shifts, but with the grip it doesn’t return, so over time, the bottle eventually drops off as opposed to staying in the cage. But I would rather the sound of wind through my ears rather than a pesky rattling bootle. .
One particular bike shop suggested I get some adhesive sand paper and stick that on the cage, apparently this is done by riders in the Paris-Roubaix, not a bad idea. Its a good thing we don’t ride on cobblestones, but I must admit the practice of placing one ashphalt patch besides another, then besides another might solve the pot hole, but makes for a shocking road, not just to ride on but for the car as well. Has anyone driven, or even worse, tried riding along along the Boulevard in Eaglemont (Melbourne), interesting read here. This would be a great test section, but I fear my wheels might not survive, let alone my body.
Installation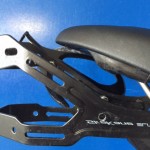
The Skekane was well equipped. Plenty of bolts, washers, nuts and even some handy velcro straps. It had a lot of position options which made it really flexible. Having said this, I had to modify the mount following a test ride. Interestingly, you can mount this ‘UP’ or ‘Down’ depending on your suited position, or I got it all terribly wrong and have installed it incorrectly ?.
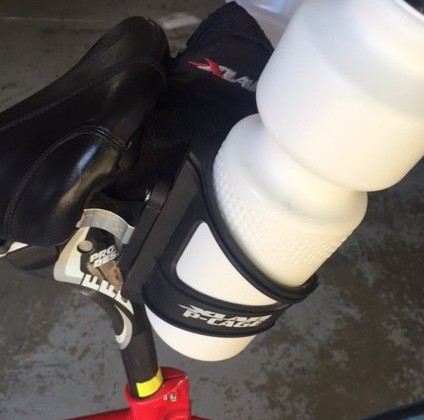
So why did I modify the mount? I tend to ride quite forward on my seat and the Skekane is a fairly long system, so whilst down on the bars, it was a long reach behind to get to the bottle, let alone take it in and out. This was obvious after I installed the system in the garage.
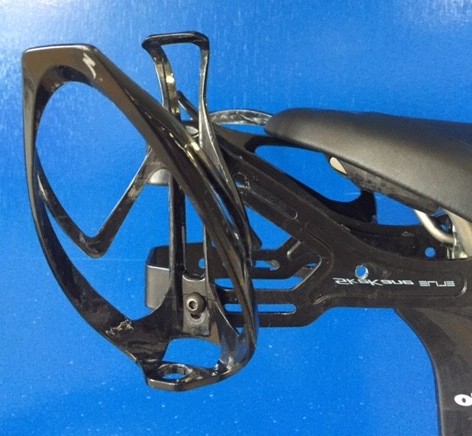
I initially went for the upright position, as removing a launched bottle was the aim, this had to be a certainty. To get the most out of the test, I went with 2 different bottles, these from 2 different events. It appears that Ironman AsiaPac secured a bulk deal on bottles as they seem to be pretty consistent at the moment. At the end of the test ride, no bottles were launched. I would be worried if I did loose a bottle given the upright position.
Still, I wasn’t happy with this as the upright position might have stopped the launched bottles, but I may as well have a parachute out the back given the drag that must be creating. So, I decided to get handy and see what I could do with the Skekane system to improve its position without compromising bottle stability.
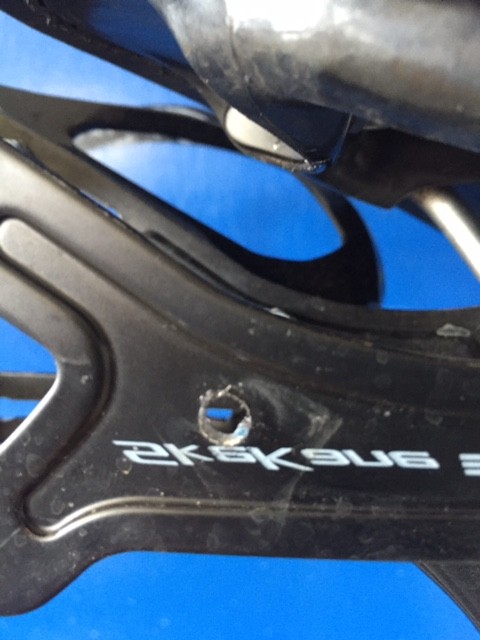
I found the pre-drilled slots where slightly smaller than the standard M5 threaded screw, so I had to increase the space to enable a cage to be secured. Having undertaken this, I was still not happy with the bottle position. Even on the 2 diagonal extreme points, it was still too upright. So I kept the top screw in and rotated the bottle to the position I was after and then drilled a nice hole in the Skekane frame. The thought of structural integrity did cross my mind, but hey, this could save me at least 3 seconds right :).
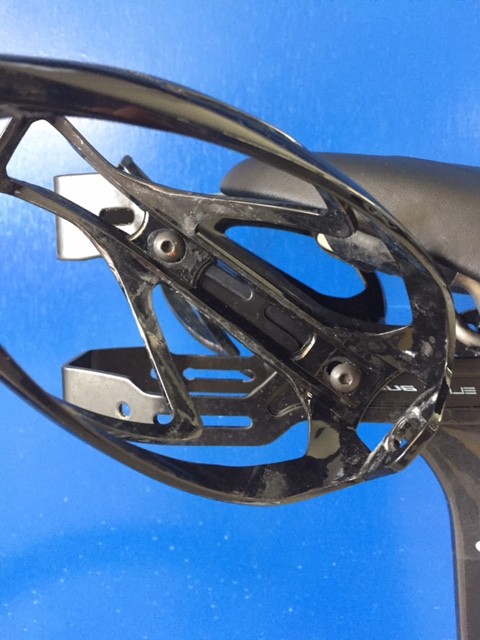
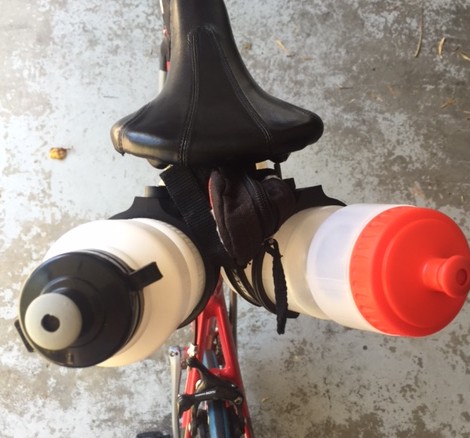
With the new hole drilled, I secured the cage and I must say the effort was well worth it, at least in appearance. The bottle was postioned nice and close to the saddle, not to vertical or horizontal and above all else, it looked good.
The Results
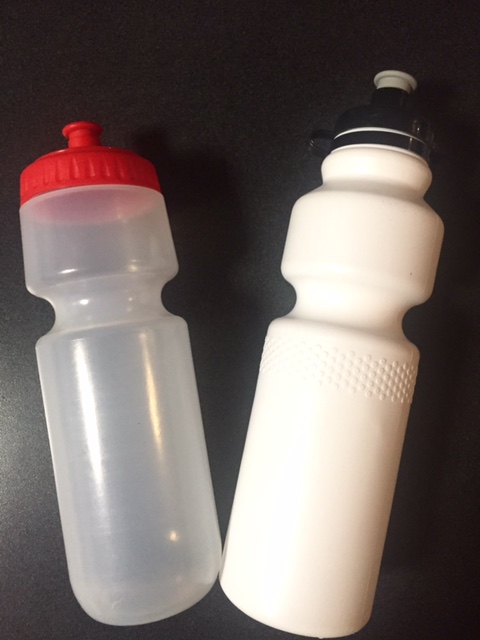

I have been out on several training rides now on various surfaces and also completed an Ironman. I am relieved to say that I have not launched a bottle with the new system. I also noticed that Ironman Western Australia had a different drink bottle to the typical clear 750ml bottle with red cap to a solid white and black cap making an appearance every so often.
Again, no issues, no Launches So in short, I was in $49.95 for the Skekane and $50.00 for the 2 x Specialised Rib Cages, so $100.00. This compared to an xlab gorilla lab at $70 per cage, plus the wing at a further $100. So Based on the x-lab I’m $70 ahead.
Other Considerations.
As I was fortunate to get one of the Alden TT Bento boxes, so I no longer needed space to secure tyre tubes, tools, etc behind the seat. The Skekane has ample room for cartridges and with the velcro straps provided allows you to secure your tubes and levers so you can make it as busy up the back as you like. Personally, I kept it to a minimum and found the Alden TT bento provided amble storage for tubes, levers, cartiges etc.
Sorry, comments are closed for this post.